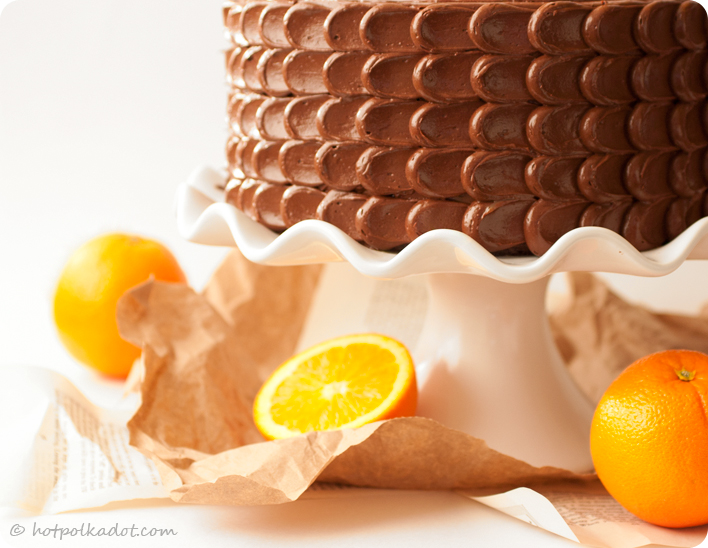
How To Tuesday: Petal To The Metal.
This entry was posted in Cakes, How To Tuesday and tagged Chocolate, Frosting, Icing, Orange, Petal on February 27, 2013.
You know that picture in your head, the impossibly perfect one? You see it when you're imagining how that royal icing flood will turn out. You see it in the back of your mind when attempting a side dutch braid. You see it clearly when you're trying to match that DIY project you saw on Pinterest. Then suddenly your flood fails, your braid is broken and your DIY is a major don't.
We probably set ridiculously high expectations for ourselves. I know I do. I'm pretty sure I can count the number of times reality matched my imagination on one hand. This is one of those times.
I'll admit I was terrified to try this frosting technique. It's trendy, it's cute and it looks super complicated. For a perfectionist like myself, I was certain it would be a flop. I was worried the consistency of the frosting would be too thick, too dry and just not friendly. I was worried my rows would start slanting and look crooked. I was worried I wouldn't have enough frosting to finish.
All my worrying was for nothing. This technique is deceptively easy to pull off and very forgiving. The recipe I used was the perfect consistency and even the exact amount.
You want to make a petal cake of your own? Sure you do!
 Start by dirty icing your layer cake with the frosting of your choice and letting that set. Fill a large pastry bag fitted with a medium round tip with the remaining frosting.
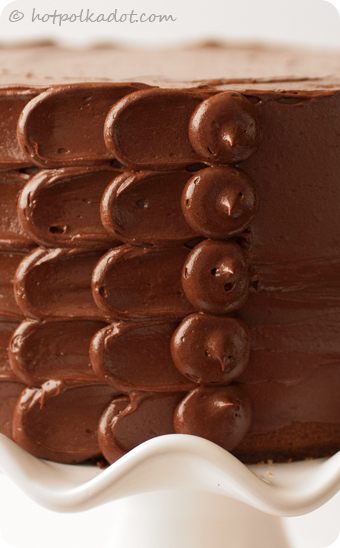
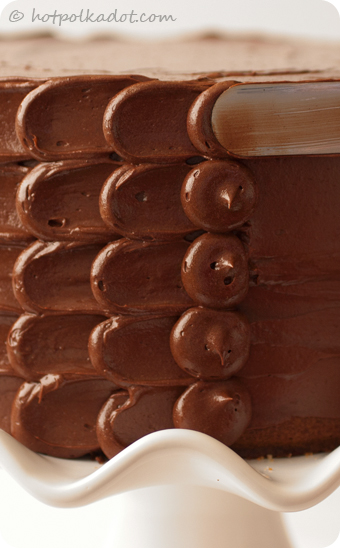
Pipe a vertical row of 4 - 6 dots about 1/2 - 1 inch in diameter. Depending on the height of your cake, you may need to adjust either the size or number of dots. Once you have your line of dots, use a palette, butter knife or even a spoon to smush down one side of each dot to form a line of petals.
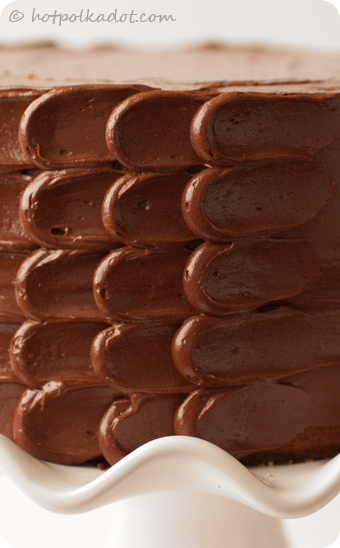
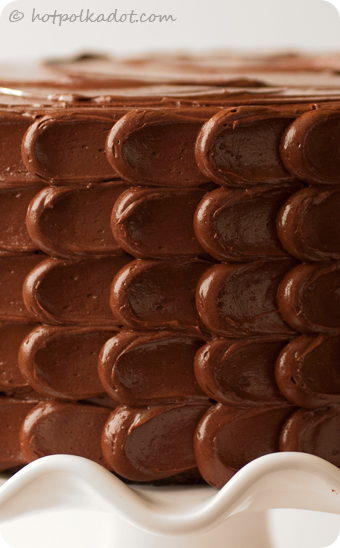 Pipe your next row of dots over top of the skinny side of the finished petals to hide it and continue the pattern. Then just repeat the petal process until you've got one glorious petal cake.
It's an impressive and trendy design but a lot easier than it looks. It looks intimidating, but you'll realize quickly that it's so simple and super fun! Impress your guests at your next shindig or wow your relatives at the next birthday party!


